Hey there, folks! I'm a supplier of chain link fences, and today I'm stoked to walk you through the process of installing a chain link fence with a corner. Whether you're looking to secure your property, mark a boundary, or just add a little extra privacy, a chain link fence is a solid choice. And with a corner in the mix, it can add a unique touch to your setup.
Getting Prepared
First things first, you gotta get all your materials and tools in order. Here's what you'll need:
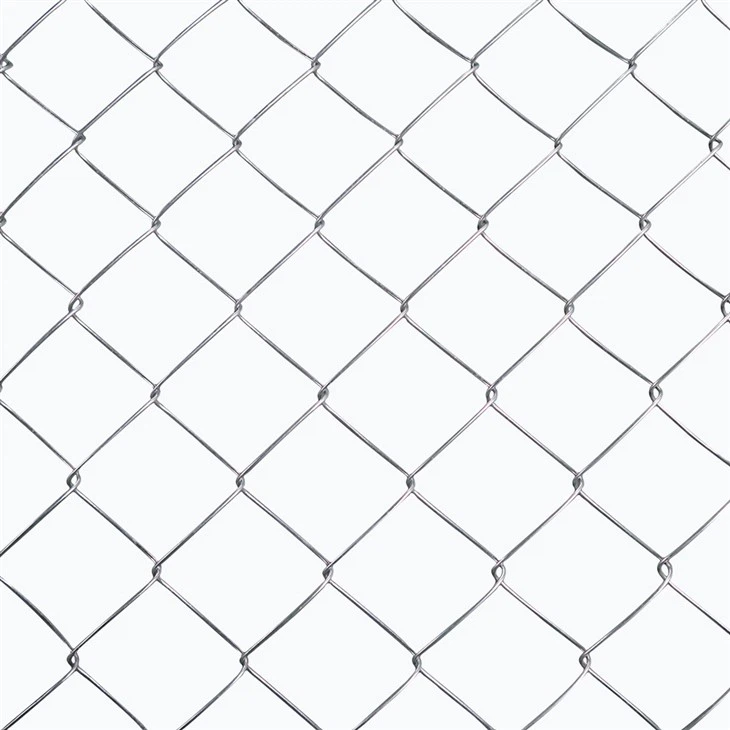
- Chain Link Fence Rolls: You can choose from Galvanized Chain Link Fencing, which is super durable and rust-resistant, or PVC Coated Chain Link Fencing, which comes in a variety of colors and adds an extra layer of protection.
- Posts: You'll need corner posts and line posts. Corner posts are typically heavier and stronger to support the fence at the corners.
- Post Caps: These help protect the posts from the elements and look nice too.
- Tension Bars and Bands: These are used to tension the fence and keep it in place.
- Gates: If you want access to your property, you'll need a gate. Make sure it's the right size and style for your fence.
- Tools: You'll need a post hole digger, a sledgehammer, a tape measure, a level, pliers, and a wire cutter.
Planning Your Fence
Before you start digging holes and erecting posts, it's important to plan out your fence. Here's how:
- Mark Your Boundary: Use stakes and string to mark the perimeter of your fence. Make sure to account for any corners and gates.
- Check Local Regulations: Before you start digging, check with your local authorities to see if you need a permit to install a fence. Some areas have specific rules and regulations regarding fence height, placement, and materials.
- Determine Your Post Spacing: The spacing between your posts will depend on the height and style of your fence. As a general rule, line posts should be spaced 6 to 10 feet apart, and corner posts should be spaced closer together.
Digging the Post Holes
Once you've planned out your fence, it's time to start digging the post holes. Here's how:
- Use a Post Hole Digger: A post hole digger is the easiest and most efficient way to dig the holes. Make sure the holes are deep enough to support the posts and wide enough to allow for some backfilling.
- Dig the Corner Holes First: Start by digging the holes for the corner posts. These posts will be the anchor points for your fence, so they need to be extra sturdy.
- Dig the Line Holes: Once the corner holes are dug, measure the distance between the corner posts and mark the locations for the line posts. Dig the holes for the line posts, making sure they are level and evenly spaced.
Setting the Posts
Now that the post holes are dug, it's time to set the posts. Here's how:

- Place the Posts in the Holes: Lower the posts into the holes, making sure they are plumb and level. Use a level to check the posts and adjust them as needed.
- Backfill the Holes: Once the posts are in place, backfill the holes with dirt or gravel. Tamp the soil down firmly to secure the posts.
- Add Concrete (Optional): If you want to make the posts even more sturdy, you can add concrete to the holes. Mix the concrete according to the manufacturer's instructions and pour it into the holes around the posts. Make sure the posts are still plumb and level while the concrete sets.
Installing the Fence
Once the posts are set, it's time to install the fence. Here's how:
- Unroll the Fence: Start at one corner post and unroll the chain link fence along the length of the fence line. Make sure the fence is straight and level.
- Attach the Fence to the Posts: Use tension bands and wire clips to attach the fence to the posts. Start at the top of the fence and work your way down, making sure the fence is tight and secure.
- Tension the Fence: Use tension bars to tension the fence and keep it in place. Attach the tension bars to the posts and tighten them until the fence is taut.
- Install the Corner: At the corner of the fence, you'll need to cut the fence and attach it to the corner post. Use a wire cutter to cut the fence and a pair of pliers to bend the wires around the post.
- Install the Gate: If you're installing a gate, make sure it's the right size and style for your fence. Attach the gate to the posts using hinges and a latch.
Finishing Touches
Once the fence is installed, it's time to add the finishing touches. Here's how:
- Trim the Fence: Use a wire cutter to trim any excess fence material. Make sure the edges of the fence are smooth and even.
- Add Post Caps: Install post caps on the top of the posts to protect them from the elements and give your fence a finished look.
- Inspect the Fence: Walk around the perimeter of the fence and inspect it for any loose wires, gaps, or other issues. Make any necessary repairs before you call it a day.
Conclusion
Well, there you have it, folks! Installing a chain link fence with a corner may seem like a daunting task, but with the right tools, materials, and a little know-how, you can do it yourself. And if you have any questions or need help along the way, don't hesitate to reach out to us. We're a PVC Coated Cyclone Wire Mesh supplier, and we're here to help you get the job done right.
Whether you're a DIY enthusiast or a professional contractor, we have the products and expertise you need to install a high-quality chain link fence. So why wait? Contact us today to learn more about our products and services, and let's get started on your next fencing project.
References
- "Chain Link Fence Installation Guide." Home Depot.
- "How to Install a Chain Link Fence." Lowe's.
- "Chain Link Fence Installation Tips." DIY Network.


