When it comes to installing gabions, one of the most frequently asked questions is, "Do I need special tools to install gabions?" As a seasoned gabion supplier, I've encountered this query numerous times from both DIY enthusiasts and professional contractors. In this blog post, I'll delve into the tools required for gabion installation, whether they are considered "special," and provide insights to help you prepare for your project.

Understanding Gabions
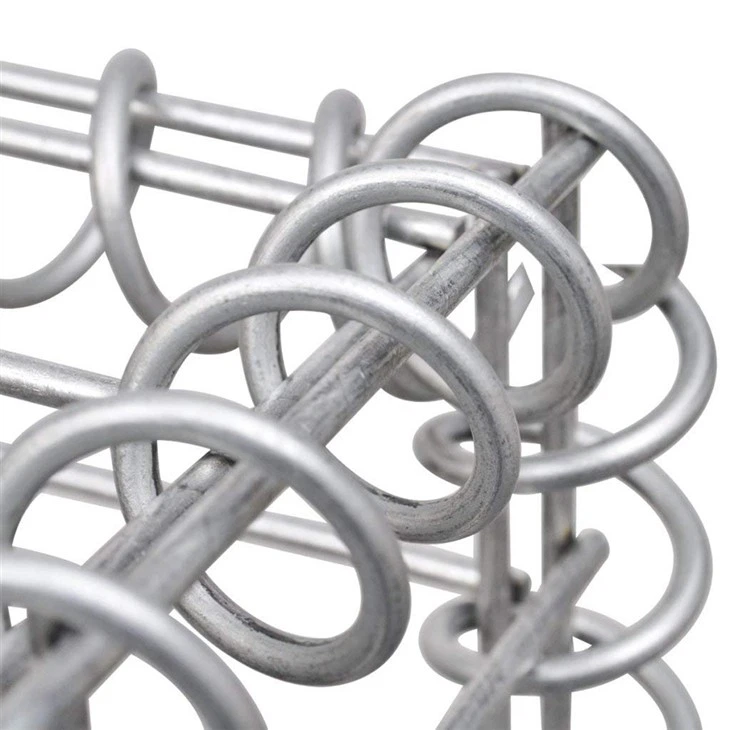
Before we discuss the tools, let's briefly understand what gabions are. Gabions are wire mesh containers filled with stones, gravel, or other materials. They are commonly used in civil engineering and landscaping projects for erosion control, retaining walls, and decorative purposes. There are different types of gabions available, such as Galvanized Welded Gabion, Galvanized Welded Gabion Basket, and PVC Coated Reno Mattress. Each type has its own characteristics and installation requirements, but the basic tools used for installation are relatively similar.
Basic Tools for Gabion Installation
- Wire Cutters: Wire cutters are essential for cutting the wire mesh of the gabions. They are used to trim the excess wire, open the gabion boxes, and connect the panels together. A good pair of wire cutters should be able to cut through the thick wire used in gabion construction with ease. Look for wire cutters with sharp blades and comfortable handles for better control.
- Pliers: Pliers are used for bending and twisting the wire. They are handy for securing the wire joints, closing the gaps between the gabion panels, and attaching the lacing wire. There are different types of pliers available, such as needle-nose pliers and locking pliers. Needle-nose pliers are ideal for reaching into tight spaces, while locking pliers can hold the wire firmly in place.
- Lacing Wire: Lacing wire is used to connect the gabion panels together. It is typically made of galvanized steel wire and comes in different thicknesses. The lacing wire should be strong enough to withstand the weight of the stones and the pressure exerted on the gabions. You'll need a sufficient amount of lacing wire to ensure a secure connection between the panels.
- Shovels and Forks: Shovels and forks are used for filling the gabions with stones or other materials. A shovel is used to scoop the stones and transfer them into the gabion boxes, while a fork can be used to spread the stones evenly inside the gabions. Make sure to choose shovels and forks with sturdy handles and sharp blades for efficient filling.
- Level: A level is used to ensure that the gabions are installed horizontally and vertically. It helps to create a stable and even structure. A spirit level or a laser level can be used for this purpose. A spirit level is a simple and affordable tool, while a laser level provides more accurate and precise measurements.
- Hammers or Mallets: Hammers or mallets are used to drive the stakes into the ground to secure the gabions in place. They are also used to tap the stones into position inside the gabions. A small hammer or mallet is usually sufficient for this task.
Are These Tools "Special"?
The tools mentioned above are not necessarily "special" in the sense that they are not commonly found in a typical toolbox. Most of these tools can be easily purchased at a hardware store or rented from a tool rental company. However, they are specifically required for gabion installation and play a crucial role in ensuring a successful and safe installation.
While these tools are relatively common, it's important to use the right tools for the job. Using improper tools can not only make the installation process more difficult and time-consuming but also compromise the quality and integrity of the gabion structure. For example, using dull wire cutters may result in uneven cuts and weak connections, while using a flimsy shovel may break under the weight of the stones.
Additional Tools for Larger Projects
For larger gabion projects, you may need some additional tools to speed up the installation process and ensure a more efficient and professional result. These tools include:
- Crane or Forklift: A crane or forklift can be used to lift and position the large gabion boxes or pre-filled gabions. This is especially useful for projects that involve heavy or oversized gabions.
- Stone Crusher: A stone crusher can be used to break down large stones into smaller pieces for easier filling of the gabions. This can save time and labor, especially if you have a large quantity of stones to process.
- Compactor: A compactor is used to compact the stones inside the gabions to increase their stability and strength. It helps to reduce the settlement of the stones over time and ensures a more durable gabion structure.
Tips for Gabion Installation
- Read the Instructions: Before starting the installation, carefully read the manufacturer's instructions and guidelines. Each type of gabion may have specific installation requirements, and following the instructions will help you avoid mistakes and ensure a proper installation.
- Prepare the Site: Make sure the installation site is level and free of debris. Remove any vegetation, rocks, or other obstacles that may interfere with the installation process. If necessary, level the ground using a shovel or a grader.
- Lay the Foundation: If you are installing a retaining wall or a large gabion structure, it's important to lay a solid foundation. This can be done by digging a trench and filling it with gravel or concrete. The foundation will provide stability and prevent the gabions from shifting or settling over time.
- Assemble the Gabions: Start by assembling the gabion panels according to the manufacturer's instructions. Use the wire cutters and pliers to connect the panels together using the lacing wire. Make sure the joints are secure and the panels are aligned properly.
- Fill the Gabions: Fill the gabions with stones or other materials gradually, making sure to distribute the weight evenly. Use a shovel or a fork to spread the stones inside the gabions and tap them into place using a hammer or mallet. Avoid overfilling the gabions, as this can cause the wire mesh to stretch or break.
- Secure the Gabions: Once the gabions are filled, secure them in place using stakes or anchors. Drive the stakes into the ground at regular intervals along the sides and back of the gabions. Make sure the stakes are firmly embedded in the ground to prevent the gabions from moving.
- Inspect the Installation: After the installation is complete, inspect the gabions carefully to ensure that they are properly installed and secure. Check for any loose wires, gaps between the panels, or uneven filling. Make any necessary adjustments or repairs before leaving the site.
Conclusion
In conclusion, you do not need special tools to install gabions, but you do need the right tools for the job. The basic tools required for gabion installation, such as wire cutters, pliers, lacing wire, shovels, forks, levels, and hammers, are commonly found in a typical toolbox. However, for larger projects, you may need some additional tools to speed up the installation process and ensure a more efficient and professional result.
If you're planning a gabion project and need assistance with choosing the right gabions or tools, or if you have any questions about the installation process, feel free to contact us. As a leading gabion supplier, we have the expertise and experience to provide you with high-quality gabions and professional advice. We look forward to working with you on your next project.
References
- "Gabion Design and Installation Guide" by the Engineering News-Record.
- "Civil Engineering Handbook" by the McGraw-Hill Companies.
- "Landscaping with Gabions" by the American Society of Landscape Architects.


